Goodbye AWS ElastiCache and hello Amazon MemoryDB — configuration and basic usage
Introduction
Programmers continuously remain interacted with caching, willingly or unwillingly, during their life.
Caching is what makes our lives easy as a developer. We are not going much deeper in this though, if you want to know more about caching, please have a look at what is cache? how does it work?.
At all the time, we want our end-users to have an uninterrupted experience with our website/application. If our product takes too long to load its page/screen then it becomes, in many of the cases the API or database is the reason behind this to let our end-users served lately. It doesn’t affect how much your APIs/services are scalable at all if they are highly latent.
To reduce API latency we normally use Redis for caching the response, which will be served to end-users till cache expires.
But what if we have something ready to use as a replacement for Redis? Yes, your assumption is correct, we are talking about one AWS Module which finely serves the role of Redis, named — MemoryDB.
Elasticache is also there to serve us as the Redis does. But in this post, we will go through MemoryDB — its basic usage and configuration.
Sponsored
We are what we repeatedly do. Excellence, then, is not an act, but a habit. Try out Justly and start building your habits today!
What is AWS MemoryDB?
A MemoryDB is a Redis-compatible, durable, in-memory database that delivers ultra-fast performance. Also, the key benefit of using it is to pay only for what you use.
How does AWS MemoryDB differ from AWS Elasticache?
Consider using MemoryDB if our workload requires a durable database that provides ultra-fast performance (microsecond read and single-digit millisecond write latency). If you’re building an application using Redis data structures and APIs and need a primary, durable database, MemoryDB may be a good fit for your use case. Finally, you should consider using MemoryDB to simplify your application architecture and lower costs by replacing the usage of a database with a cache for durability and performance.
ElastiCache for Redis is a caching service that is commonly used to cache data from other databases and data stores. Consider ElastiCache for Redis for caching workloads where we want to accelerate data access with our existing primary database or data store (microsecond read and write performance). Also, consider ElastiCache for Redis for use cases where we want to use the Redis data structures and APIs, but don’t require a durable database.
Let’s see how to set it up step by step.
Here I’m assuming that you’re already familiar with AWS EC2 and AWS IAM and their usage.
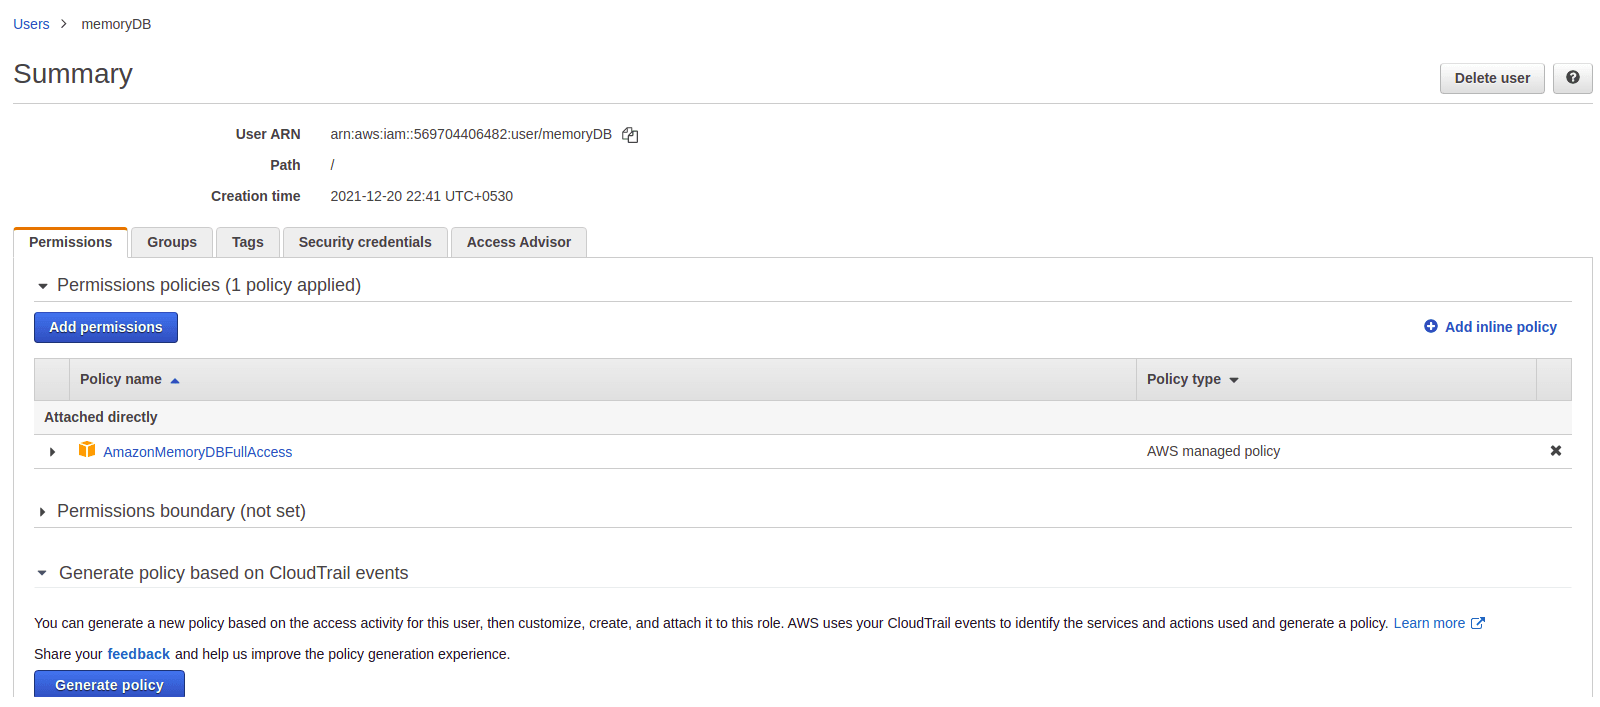
- Create an IAM user if you haven’t, already. Keep in mind to note down the Access key and secret key in case if you’re newly creating it.
- Add AmazonMemoryDBFullAccess permission to the IAM user you’ve created in the above step. It comes pre-provisioned with permission that the service requires to create a service-linked role on your behalf.
You might decide not to use the default policy and instead to use a custom-managed policy. In this case, make sure that you have either permission to call iam:createServiceLinkedRole or that you have created the MemoryDB service-linked role.
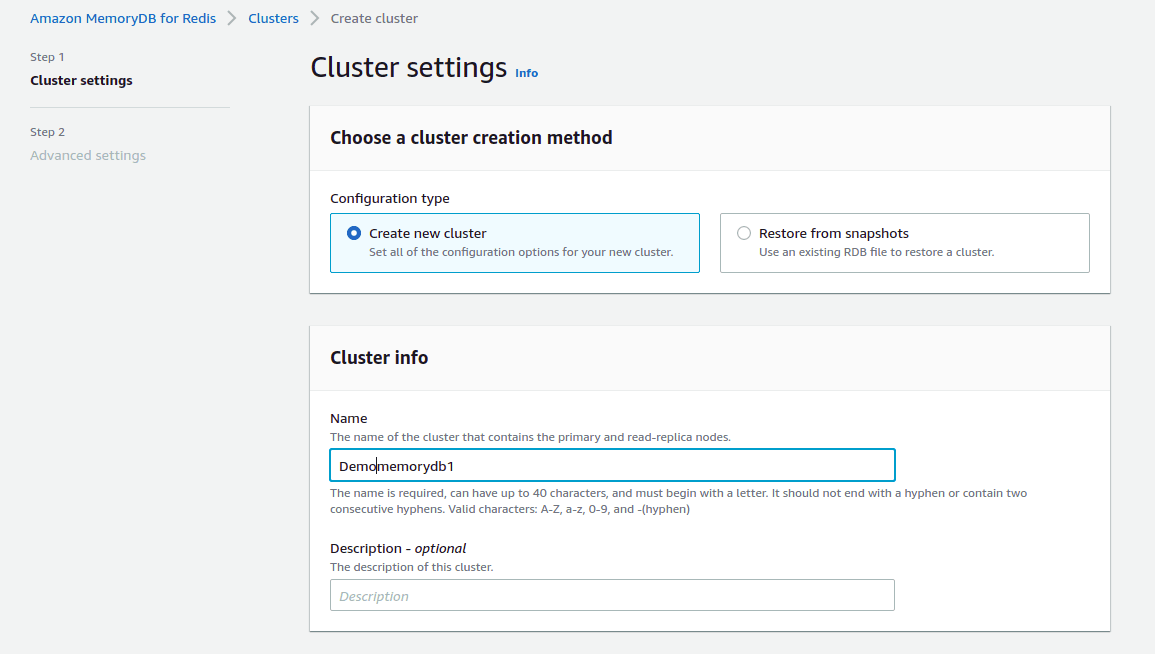
3. Visit here to create the MemoryDB cluster.
i. Create a cluster with basic details.
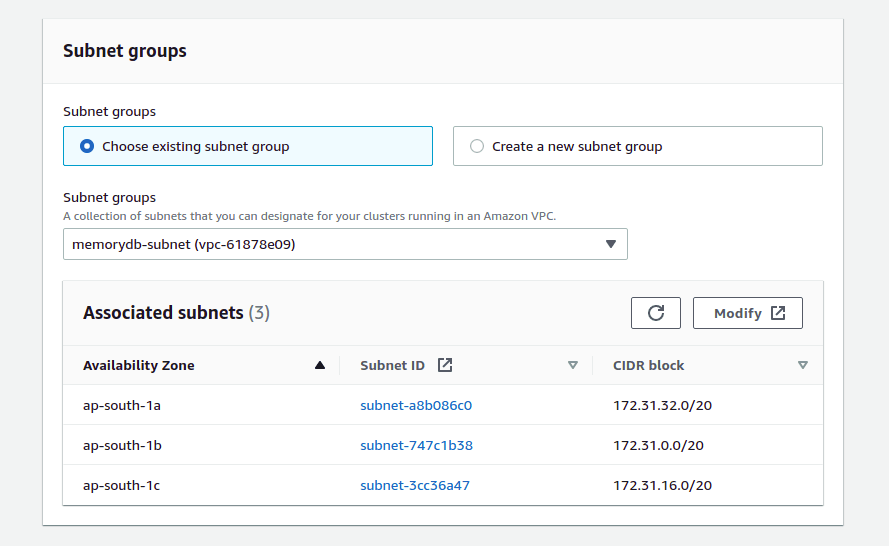
ii. Add/select subnet groups and choose cluster settings according to your storage requirement.
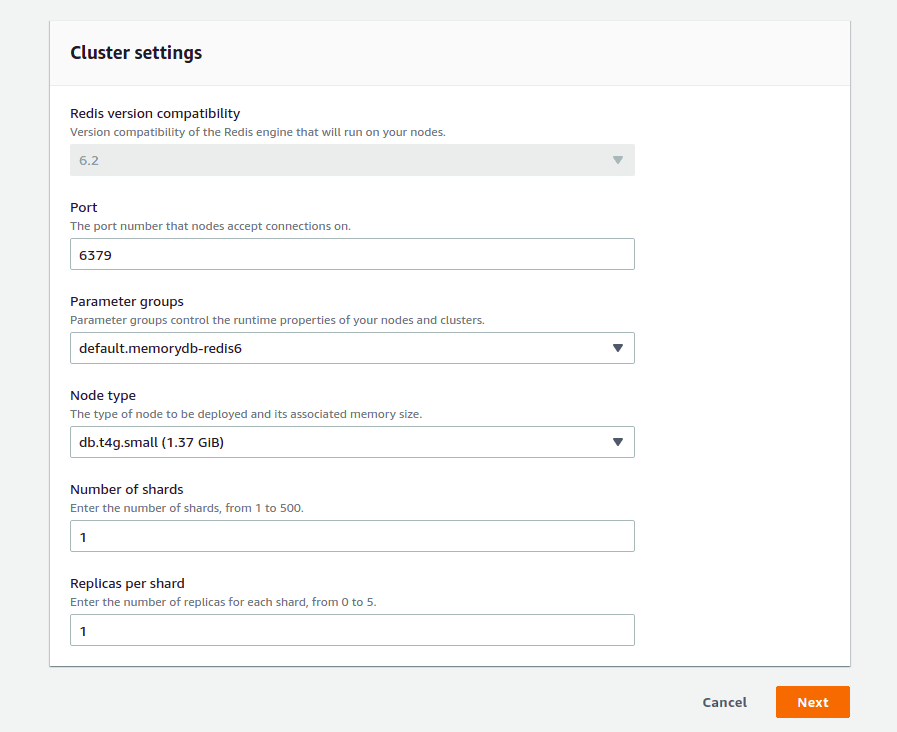
iii. Configure/choose a security group that takes account of connection ports.
The default port for MemoryDB clusters is 6379.
Let’s create a VPC security group for our EC2 instances, to allow access to the EC2 instance from the Internet via the VPC’s routing table. For example, you can set rules on this security group to allow TCP access to the EC2 instance over port 22 and for Redis port too.

4. Finally, ssh on the EC2 instance and try to connect with the cluster.
To use redis-cli to connect to a MemoryDB cluster on Amazon Linux 2 or Amazon Linux,
Run the following commands according to EC2 instance type, If you’re using AWS Linux 2,
$ sudo yum -y install openssl-devel gcc
$ wget http://download.redis.io/redis-stable.tar.gz
$ tar xvzf redis-stable.tar.gz
$ cd redis-stable
$ make distclean
$ make redis-cli BUILD_TLS=yes
$ sudo install -m 755 src/redis-cli /usr/local/bin/
OR if you’re using Amazon Linux,
$ sudo yum install gcc jemalloc-devel openssl-devel tcl tcl-devel clang wget
$ wget http://download.redis.io/redis-stable.tar.gz
$ tar xvzf redis-stable.tar.gz
$ cd redis-stable
$ make redis-cli CC=clang BUILD_TLS=yes
$ sudo install -m 755 src/redis-cli /usr/local/bin/
Finally, Connect to the cluster using the following command,
redis-cli -h cluster endpoint --tls -p 6379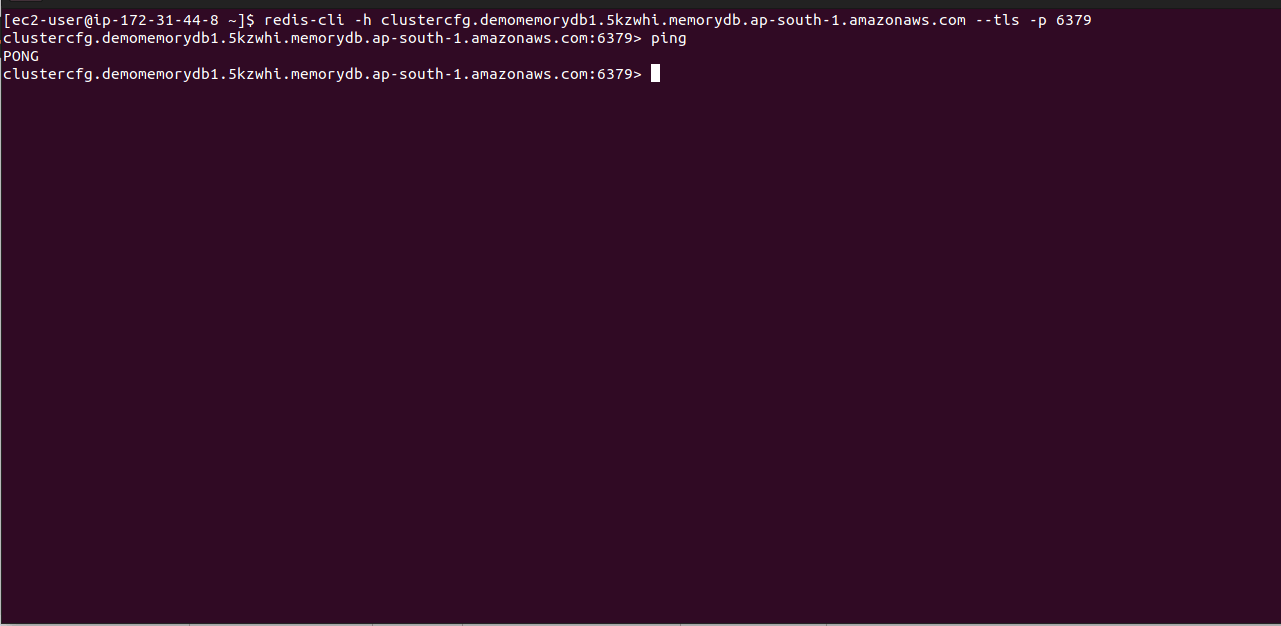
That’s it. You can check by running a command ping in the terminal, and if it returns “pong”, that means the memoryDB connection is successful !🎉🍹
Feel free to leave a response to the article if you would like to have some help or want to suggest improvements.
Similar Useful Articles

'%3e%3crect%20opacity='0.3'%20width='253.333'%20height='256.667'%20rx='10'%20transform='matrix(0.898794%200.438371%20-0.425364%200.905022%20109.961%20230.004)'%20fill='%23F2709C'%20fill-opacity='0.2'/%3e%3crect%20opacity='0.3'%20width='211.667'%20height='188.333'%20rx='15'%20transform='matrix(0.987688%200.156434%20-0.151006%200.988533%20-40.0391%201715)'%20fill='%23FF9472'%20fill-opacity='0.2'/%3e%3crect%20opacity='0.3'%20width='150'%20height='150'%20rx='10'%20transform='matrix(0.669131%200.743145%20-0.730788%200.682605%202111.64%201603.34)'%20fill='%23F2709C'%20fill-opacity='0.2'/%3e%3crect%20opacity='0.3'%20width='165'%20height='165'%20rx='15'%20transform='matrix(-0.669131%20-0.743145%20-0.730788%200.682605%201998.3%20643.336)'%20fill='%236CCAFF'%20fill-opacity='0.2'/%3e%3crect%20opacity='0.3'%20width='128.333'%20height='128.333'%20rx='50'%20transform='matrix(0.669131%200.743145%20-0.730788%200.682605%20379.961%20958.336)'%20fill='%23B66CFF'%20fill-opacity='0.2'/%3e%3crect%20opacity='0.3'%20width='128.333'%20height='128.333'%20rx='50'%20transform='matrix(0.669131%200.743145%20-0.730788%200.682605%201859.97%202311.67)'%20fill='%23B66CFF'%20fill-opacity='0.2'/%3e%3crect%20opacity='0.3'%20width='156.667'%20height='158.333'%20rx='10'%20transform='matrix(0.891007%200.453991%20-0.440801%200.897605%20938.312%202176.67)'%20fill='%23B66CFF'%20fill-opacity='0.2'/%3e%3c/g%3e%3c/svg%3e)
