Deploy a website with AWS S3 + CloudFront using CloudFormation
Introduction
After making the backend serverless, it’s time to go serverless for the frontend.
In this blog post, we will discuss how to deploy a website using AWS S3, CloudFront, and CloudFormation.
These tools are part of Amazon Web Services (AWS), a popular cloud computing platform that provides a wide range of services for building, deploying, and managing applications in the cloud.
To begin, let’s first discuss the role of each of these tools in deploying a website.
Amazon S3
It is a simple storage service that allows you to store and retrieve data from anywhere on the web. It is commonly used for hosting static websites, such as those that only contain HTML, CSS, and JavaScript files.
Amazon CloudFront
It is a content delivery network (CDN) that speeds up the delivery of your static website by caching its contents at edge locations around the world.
This means that when a user requests a page on your website, they will be served the cached version from the nearest edge location, reducing the time it takes for the page to load.
AWS CloudFormation
It is a service that helps you model and set up your Amazon Web Services resources. It allows you to define your infrastructure as code, which makes it easy to deploy and manage your resources in a predictable and automated manner.
In this blog, we will see how to host our site at web.example.com .
Benefits of going serverless
- Get rid of server management and code deployment stuff
- Pay for what you use
- Infinite scaling
Sponsored
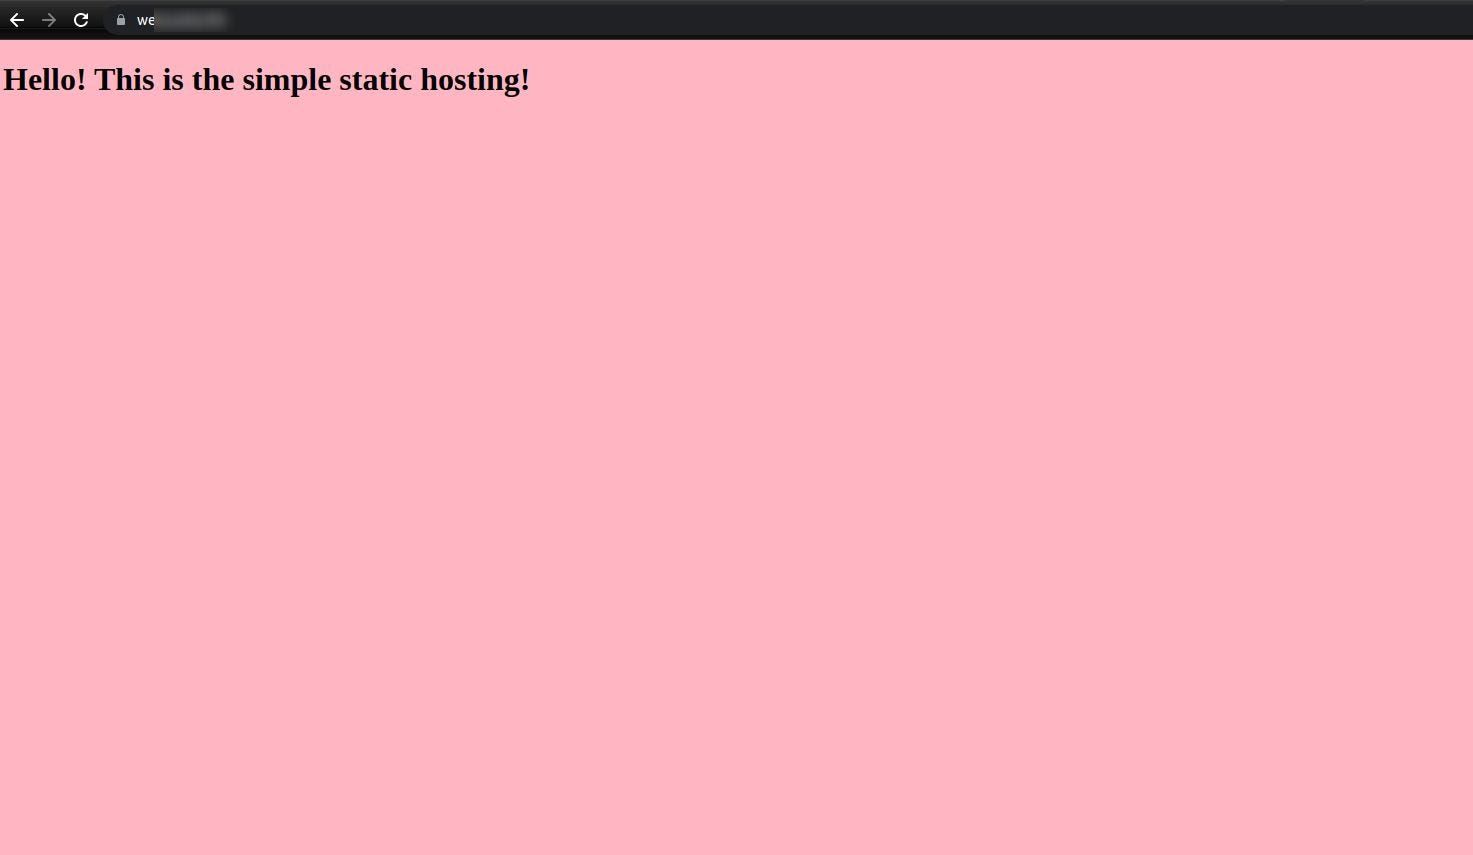
As a demo, we will host a really simple website, a website that has only index.html file!
<!DOCTYPE html>
<html>
    <head>
        <title>Simple SPA</title>
    </head>
    <body style="background-color: lightpink">
        <h1>Hello! This is the simple static hosting!</h1>
    </body>
</html>
1. Add IAM permissions
The IAM user you’re using for static site hosting will need some permissions attached, to access the CloudFront service.
Here is the list of them:
- CreateDistribution
- UpdateDistribution
- DeleteDistribution
- GetDistribution
- TagResource
- CreateOriginAccessControl
- UpdateOriginAccessControl
- DeleteOriginAccessControl
- ListOriginAccessControls
- GetOriginAccessControl
- GetOriginAccessControlConfig
Go to AWS console -> IAM, and add the above-listed policies to the respective IAM user you're using for hosting the site.
NOTE — You can also select the CloudFrontFullAccess policy alternatively, but it’s recommended to not expose the service fully to the IAM user and give only permissions that are required!
Also, check that the IAM user has permission to access S3 and CloudFormation services.
2. Create an S3 bucket and upload the code
To create a bucket and CloudFront service, let’s configure the IAM user.
Install aws-cli on your machine and execute the following commands to set up AWS CLI operations.
 aws configure set aws_access_key_id your_aws_acces_key_id
 aws configure set aws_secret_access_key your_aws_secret_access_key
 aws configure set region your_aws_region
Let’s create an AWS CloudFormation template named deployment_template.yml.
Add the following configuration to create an S3 bucket with private access:
AWSTemplateFormatVersion: 2010-09-09
Description: A template for static hosting using S3 bucket and CloudFront

Outputs:
  S3BucketName:
    Value:
      Ref: S3Bucket

Resources:
  S3Bucket:
    Type: AWS::S3::Bucket
    Properties:
      AccessControl: Private
      BucketName: "static-hosting-demo"
Here, we’ve set AccessControl of the S3 bucket to Private , as we don't want to expose our objects publicly.
Find more details at CloudFormation template for S3 Bucket.
After configuring the deployment template, it’s time to validate the same and deploy the CloudFormation stack. The below commands will do that for us.
aws cloudformation validate-template --template-body file://deployment_template.yml
aws cloudformation deploy --stack-name static-hosting-demo-stack --template-file deployment_template.yml --capabilities CAPABILITY_IAM CAPABILITY_NAMED_IAM
Check the AWS console, it has successfully created the CloudFormation stack and the bucket.
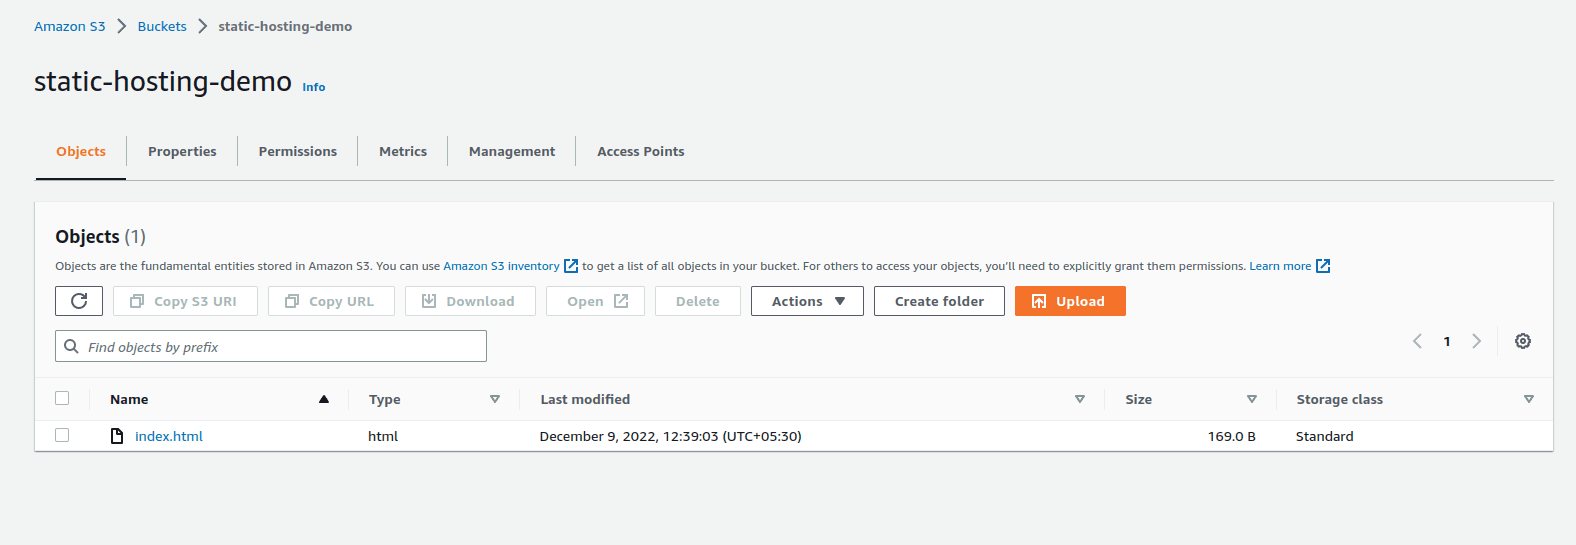
Let’s upload the index.html to the bucket now.
aws s3 cp index.html s3://static-hosting-demo/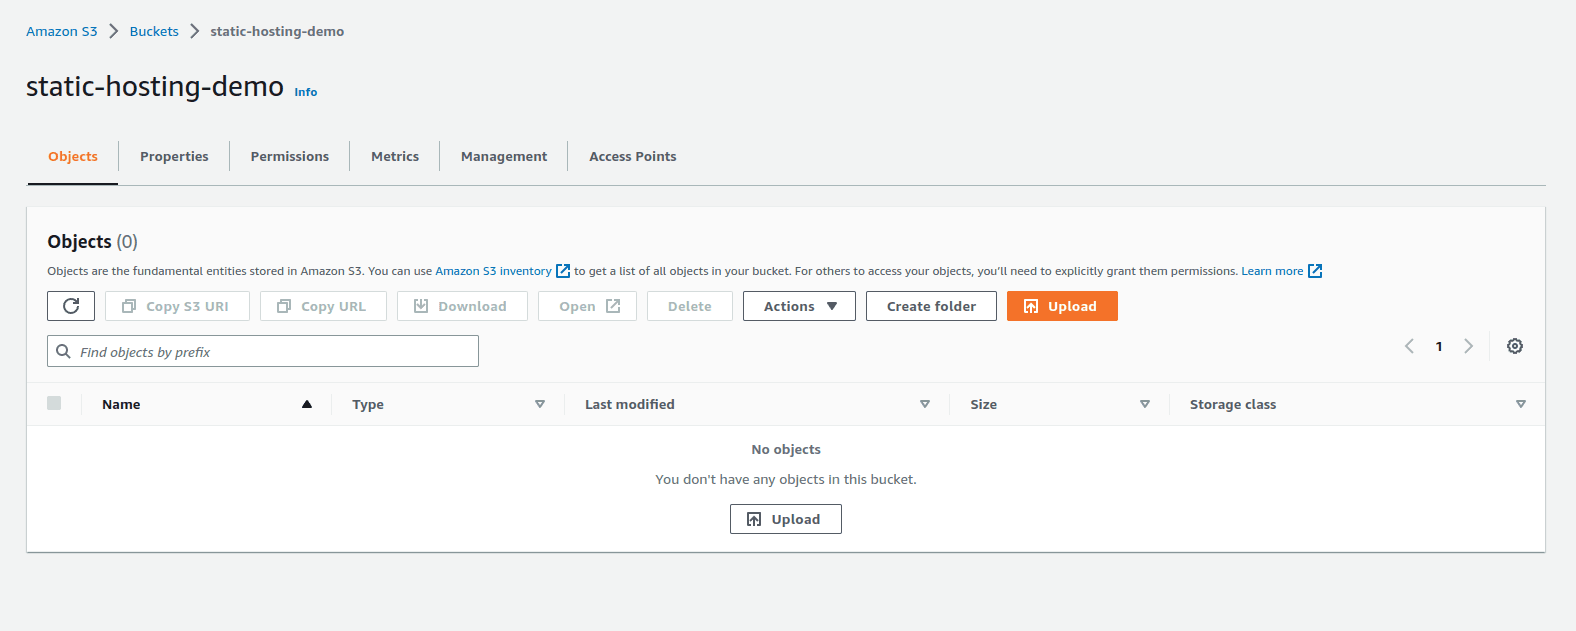
The final deployment script should look like this, let’s call it deploy.sh.
#!/bin/bash

aws cloudformation validate-template --template-body file://deployment_template.yml
aws cloudformation deploy --stack-name static-hosting-demo-stack --template-file deployment_template.yml --capabilities CAPABILITY_IAM CAPABILITY_NAMED_IAM
aws s3 cp index.html s3://static-hosting-demo/
If you’re using Vue.js or React.js or any SPA, you might want to cache files on CloudFront, so that will be provided by CloudFront with less or almost no time.
In most of the SPAs, everything except index.html is fine to cache because every file has md5 of the file content in the file name. So if a file ever changes, so will its name.
aws s3 cp /your-assets-dir s3://static-hosting-demo/ --cache-control 'max-age=31536000' --exclude *.html
aws s3 cp index.html s3://static-hosting-demo/ --cache-control 'no-cache'
For index.html, set cache-control = no-cache so that CloudFront can detect its latest version and serve the same. Otherwise, you will start wondering about the reason why you’re not finding the latest code rendered.
3. Create OriginAccessControl(OAC)
Now comes the security concern, What if anybody having CloudFront access can view/update/delete our S3 resources/website content?
To abandon that kind of threat, we need to authorize our CloudFront request with the help of OriginAccessControl(OAC), Previously it was working with OriginAccessIdentity(OAI), but now it’s legacy and AWS is recommending the migration from OAI to OAC.
That’s why we will go with OAC, instead of OAI.
However, it’s totally optional. If you want to serve the S3 files publicly then no need to configure OAC.
Let’s create OAC using the CloudFormation template. Add the Outputs and Resources blocks in the existing deployment_template.yml file, respectively.
Outputs:
OriginAccessControl:
Value:
Ref: CloudFrontOriginAccessControl
Resources:
CloudFrontOriginAccessControl:
Type: AWS::CloudFront::OriginAccessControl
Properties:
OriginAccessControlConfig:
Description: "origin access control(OAC) for allowing cloudfront to access S3 bucket"
Name: static-hosting-OAC
OriginAccessControlOriginType: s3
SigningBehavior: always
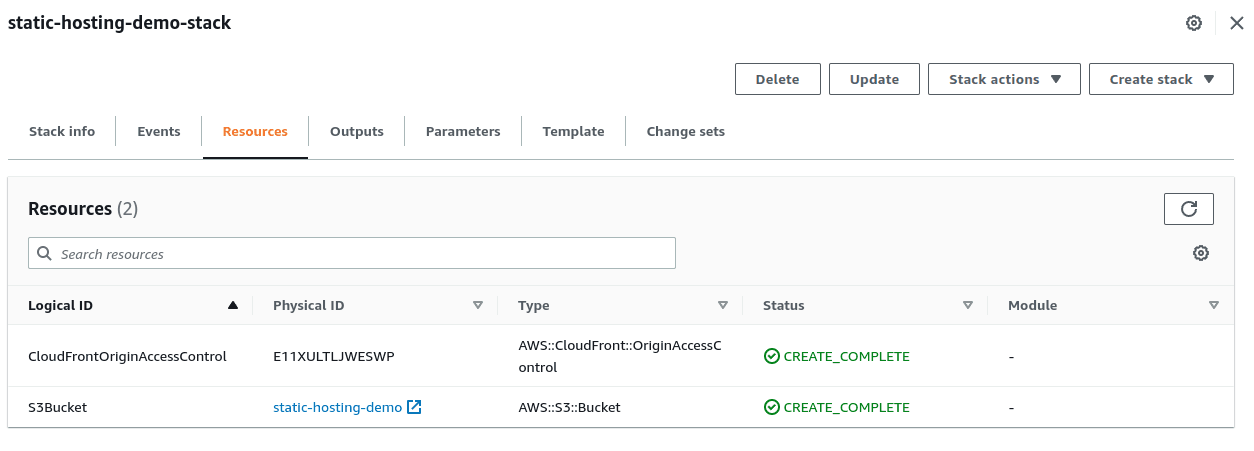
SigningProtocol: sigv4After executing deploy.sh again, the console will display the updated CloudFormation stack like below.
find more details at CloudFormation For OriginAccessControl.
4. Configure CloudFront
To configure CloudFront, add the following block in deployment_template.yml in the respective blocks Outputs and Resources.
Outputs:
  CloudFrontDist:
    Value:
      Ref: CloudFrontDistribution

Resources:
  CloudFrontDistribution:
    Type: AWS::CloudFront::Distribution
    DependsOn:
      - S3Bucket
    Properties:
      DistributionConfig:
        Origins:
          - DomainName: "static-hosting-demo.s3.ap-south-1.amazonaws.com"
            Id: static-hosting
            S3OriginConfig:
              OriginAccessIdentity: ""
            OriginAccessControlId: !GetAtt CloudFrontOriginAccessControl.Id
        Enabled: "true"
        DefaultRootObject: index.html
        CustomErrorResponses:
          - ErrorCode: 404
            ResponseCode: 200
            ResponsePagePath: /index.html
          - ErrorCode: 403
            ResponseCode: 200
            ResponsePagePath: /index.html
        HttpVersion: http2
        Aliases:
          - web.example.com
        ViewerCertificate:
          AcmCertificateArn: "arn:aws:acm:us-east-1:Id-of-IAM-User:certificate/1xxxxxxx-xxxx-xxxx-xxxx-xxxxxxxxxxxxx"
          MinimumProtocolVersion: TLSv1.2_2021
          SslSupportMethod: sni-only
        DefaultCacheBehavior:
          AllowedMethods:
            - DELETE
            - GET
            - HEAD
            - OPTIONS
            - PATCH
            - POST
            - PUT
          Compress: true
          TargetOriginId: static-hosting
          ForwardedValues:
            QueryString: "false"
            Cookies:
              Forward: none
          ViewerProtocolPolicy: redirect-to-https
The above block will create CloudFront distribution with OAC so that S3 can identify it and allow accessing the resources residing in it.
Note that, The OriginAccessIdentity must be added as an empty string (“”) even if we use OriginAccessControl.
DomainNameis the combination ofAWS_BUCKET_NAME.s3.AWS_BUCKET_REGION.amazonaws.comOriginAccessControlIdwill be the id of OAC we have created before.Aliasesis the alternate domain name you want to give, instead of the default CloudFront domain(d1xxxxxxxxxx.cloudfront.net)ViewerCertificateonly need if you specifyAliasesAcmCertificateArnis the ARN of the certificate. Make sure you’ve imported the certificate in theus-east-1(N. Virginia) for the given alias(domain). It’s a requirement of AWS.
Find more details at CloudFormation For AWS CloudFront and AWS CloudFront Aliases.
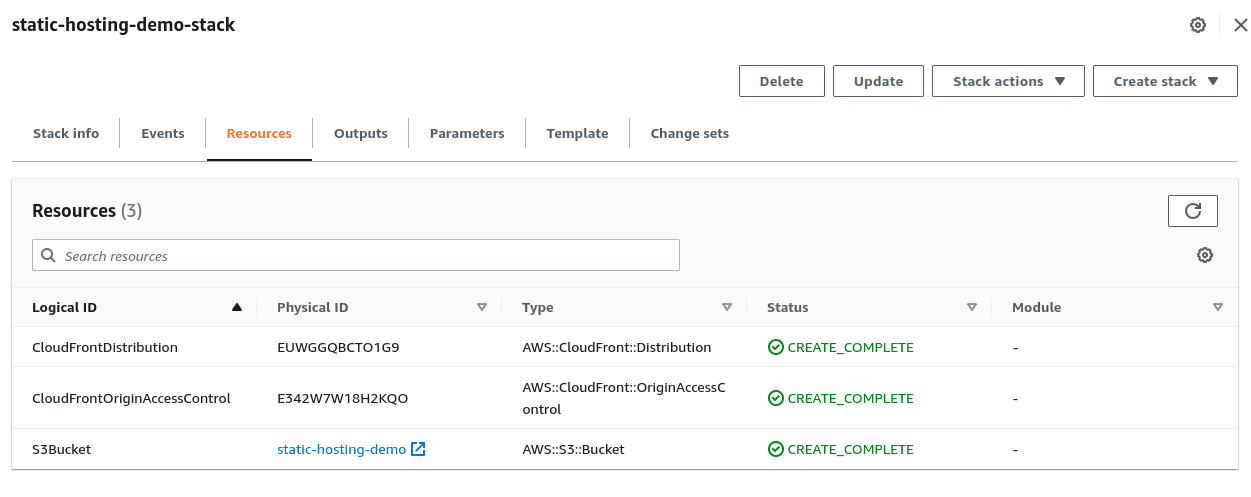
You will see the stack now consists of a total of 3 resources as below
5. Update the S3 bucket policy
Here comes the most essential step.
We need to convince our S3 bucket to allow resource access to the request coming from the CloudFront distribution with OAC.
For that, let’s update the bucket policy, and add the below block of code in the Resources tab of deployment_template.yml.
Resources:
BucketPolicy:
Type: AWS::S3::BucketPolicy
Properties:
Bucket: "static-hosting-demo"
PolicyDocument:
Version: "2012-10-17"
Statement:
- Effect: Allow
Principal:
Service: "cloudfront.amazonaws.com"
Action: "s3:GetObject"
Resource: "arn:aws:s3:::static-hosting-demo/*"
Condition:
StringEquals:
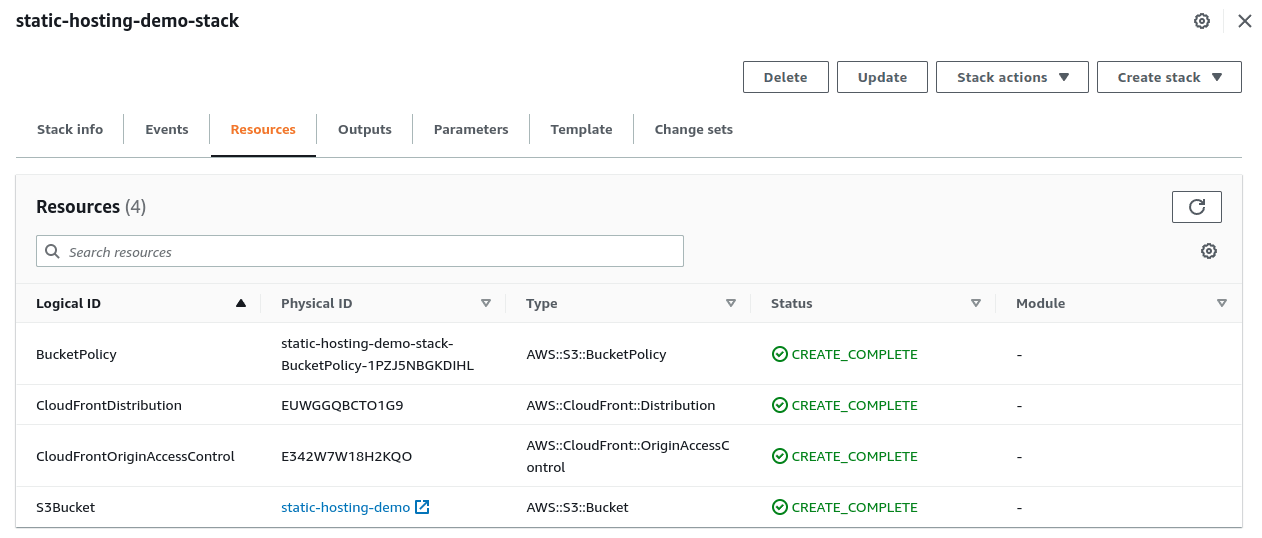
AWS:SourceArn: !Sub "arn:aws:cloudfront::Id-of-IAM-User:distribution/${CloudFrontDistribution}"You will find the Cloudformation stack as below.
Woo hoo! we’re fully done with static hosting🎉.
Go to the CloudFront Distribution page and note down the Distribution name, Your site should render there(at https://d1xxxxxxxxxxxx.cloudfront.net)
6. Point the domain to CloudFront
After getting the requested certificate in AWS Certificate Manager(ACM), note the given CNAME records and add it to your DNS provider Cloudflare or AWS Route 53, etc.

Now, add another CNAME record with the domain name(web.example.com in our case) with the value of CloudFront Url(d1xxxxxxxxxx.cloudfront.net). Make sure its proxy status is DNS only.
Yay! Visit your domain name now and you will see the same output as below.
Don’t worry if you’ve missed out on anything, visit Website deployment with AWS S3 + CloudFront for full code.
7. FAQs
1. Can static hosting be useful when the website needs API calls?
Yes, it’s all about providing HTML, CSS, and JS from S3. It will not interrupt the API calls.
2. Does it support passing the query string parameters along with the route?
Yes, it works fine with passing the query parameters.
3. Does it support dynamic routes with varying path parameters?
Yes, it deliberately works with dynamic routes. For example,users/1 and users/2 will render the same file if you have configured it in your router.
Similar Articles