Android — Infinite Auto-Scroll with Jetpack compose
Background
Infinite auto-scrolling is much more useful when you want to enhance the users' experience as they won’t need to scroll manually to see all the items.
We will use LazyRow with some finite amount of items and will make it scrollable for an infinite amount of time.
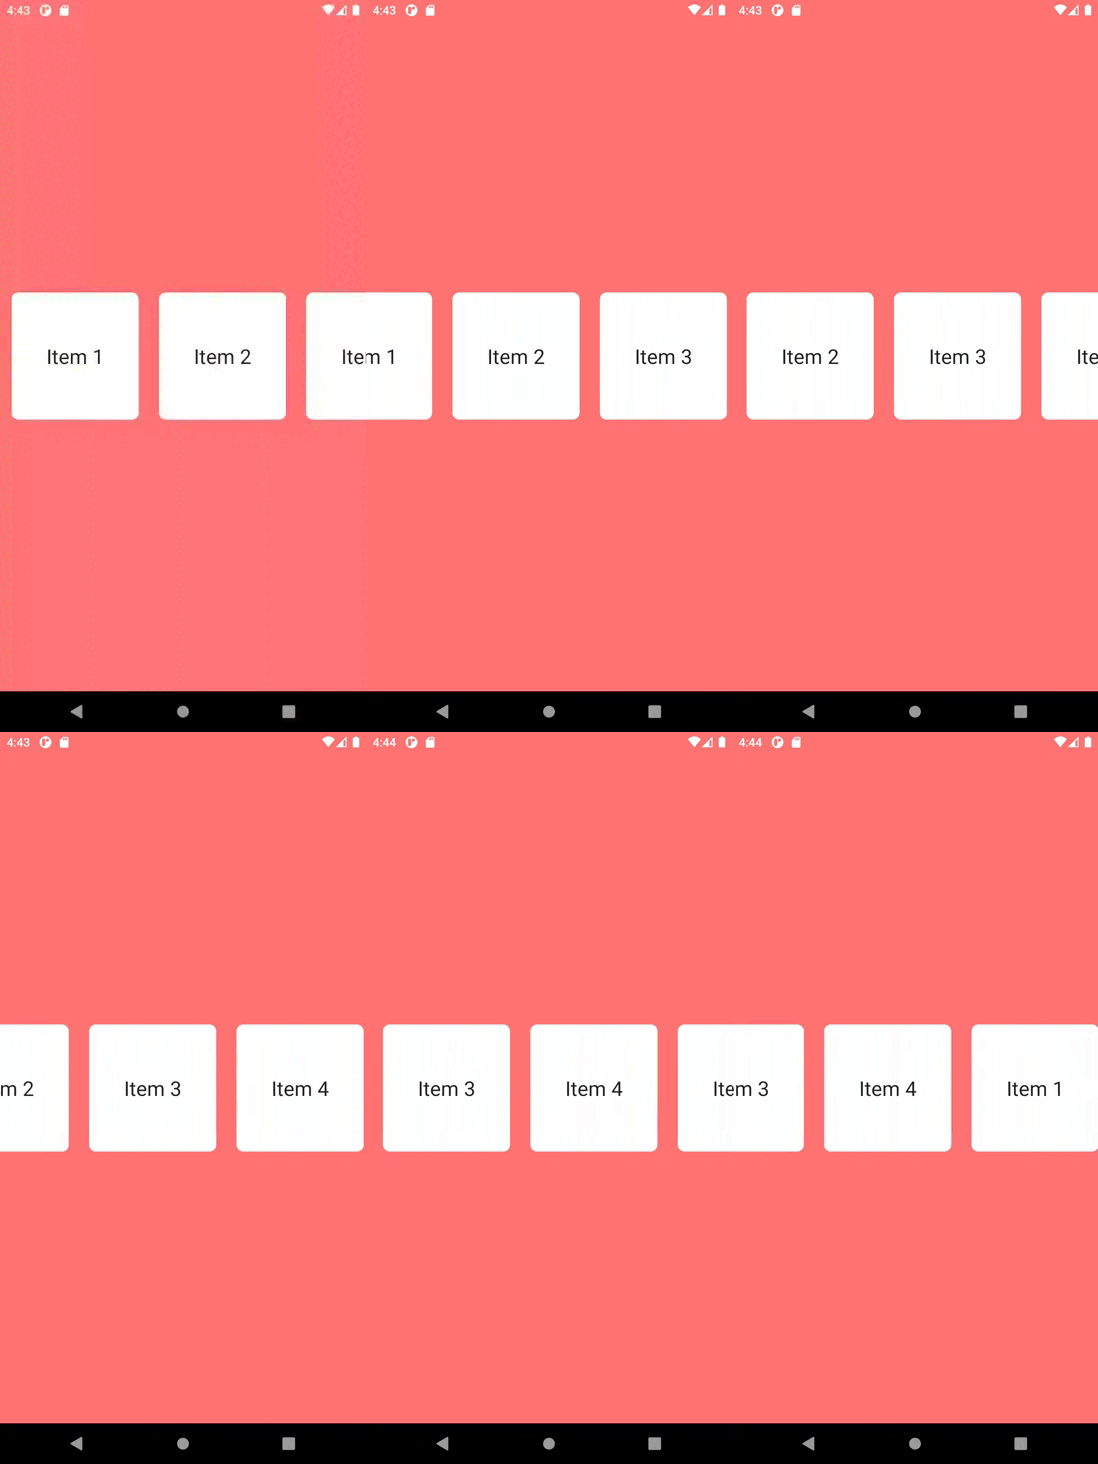
At the end of this blog, you will learn how to implement the Infinite Auto scrolling lazy list given below:

Sponsored
We are what we repeatedly do. Excellence, then, is not an act, but a habit. Try out Justly and start building your habits today!
Let’s get started.
We have created a Composable called AutoScrollingLazyRow() that is a generic one so we can use it easily.
We have divided the implementation of AutoScrollingLazyRow into five parts and later on, we will connect all the dots.
1. mapAutoScrollItem function
private fun <T : Any> List<T>.mapAutoScrollItem(): List<AutoScrollItem<T>> {
    val newList = this.map { AutoScrollItem(data = it) }.toMutableList()
    var index = 0
    if (this.size < REQUIRED_CARD_COUNT) {
        while (newList.size != REQUIRED_CARD_COUNT) {
            if (index > this.size - 1) {
                index = 0
            }

            newList.add(AutoScrollItem(data = this[index]))
            index++
        }
    }
    return newList
}
Here, As we want to scroll items for an infinite amount of time we need to have some items initially. Let’s say the user calls our AutoScrollingLazyRow composable by having only 2 items in that case the above-mentioned function will generate the required amount of the scrollable list items automatically as per the constant value (REQUIRED_CARD_COUNT which is 8 in our example).
2. Lazy Row/Column
  LazyRow(
        state = lazyListState,
        modifier = modifier,
        horizontalArrangement = Arrangement.Center,
        verticalAlignment = Alignment.CenterVertically
    ) {
        itemsIndexed(
            items, key = { _, item -> item.id }
        ) { index, item ->
            itemContent(item = item.data)

            if (index == items.lastIndex) {
                val currentList = items
                val firstVisibleItemIndex = lazyListState.firstVisibleItemIndex
                val secondPart = currentList.subList(0, firstVisibleItemIndex)
                val firstPart =
                    currentList.subList(firstVisibleItemIndex, currentList.size)

                LaunchedEffect(key1 = Unit) {
                    coroutineScope.launch {
                        lazyListState.scrollToItem(
                            0,
                            maxOf(0, lazyListState.firstVisibleItemScrollOffset - SCROLL_DX.toInt())
                        )
                    }
                }

                items = (firstPart + secondPart)
            }
        }
    }
Here, whenever our lazy list will reach the last element index (7 in our case) it will basically reset the lazyListState to the index 0 again so the user will get a smoother experience of auto-scrolling.
Here, we are dividing the list into two parts called the first part and the second part. The first part starts from the first visible item in the list to the last item and the second part starts from the first item on the current list to its first visible item.
Items will be updated with the addition of the first part and second Part, we are doing this because once the given size(8) list is fully scrolled the lazy list will have the impression that another list of the same size is still available to scroll and this will repeat for the infinite amount of time.
3. Using AutoScrollItem class
private class AutoScrollItem<T>(
    val id: String = UUID.randomUUID().toString(),
    val data: T
)

 LazyRow(
      ..
    ) {
        itemsIndexed(
            items, key = { _, item -> item.id }
        ) {
          ..
          }
          }
Here, id is unique for each item, so composable can identify an item by its key and will reuse it instead of creating a new one, that ultimately solve blinking issue.
4. autoScroll suspend function
suspend fun ScrollableState.autoScroll(
    animationSpec: AnimationSpec<Float> = tween(durationMillis = 800, easing = LinearEasing)
) {
    var previousValue = 0f
    scroll(MutatePriority.PreventUserInput) {
        animate(0f, SCROLL_DX, animationSpec = animationSpec) { currentValue, _ ->
            previousValue += scrollBy(currentValue - previousValue)
        }
    }
}

 LaunchedEffect(key1 = Unit) {
        coroutineScope.launch {
            while (true) {
                lazyListState.autoScroll()
            }
        }
    }
The main purpose of this function is to scroll the lazy list SCROLL_DX ahead on every recomposition so that the user sees it as an infinite autoscrolling lazy list. The suspend function will be called from the LaunchedEffect as you can see in the above gist.
Easing allows the animating value to speed up and slow down, rather than moving at a constant speed.
Tween also has another parameter called durationMills which is the waiting period after each iteration of our animation(we have used 800 in the Twin animation example).
For more information about easing and animation, you can refer to this blog.
In the above example, we have used LazyRow you can easily replace it with LazyColumn.
5. Calling AutoScrollingLazyRow() from Main Activity
 setContent {
            AutoScrollTheme {
                Surface(
                    modifier = Modifier.fillMaxSize(),
                    color = ThemeColor
                ) {
                    AutoScrollingLazyRow(list = (1..8).take(4)) {
                        LazyListItem(text = "Item $it")
                    }
                }
            }
        }


@Composable
fun LazyListItem(text: String) {
    Box(
        modifier = Modifier
            .padding(12.dp)
            .size(150.dp)
            .background(
                color = Color.White,
                shape = RoundedCornerShape(8.dp)
            ),
        contentAlignment = Alignment.Center
    ) {
        Text(
            text = text,
            fontSize = 24.sp
        )
    }
}
From the setContent of MainActivity, we are calling AutoScrollingLazyRow and we have also defined one composable for lazyListItem that is I guess self-explanatory.
That’s it.
The complete composable for the auto-scrolling lazy list is available on Github.
Conclusion
Don’t worry if you didn’t get all the scrolling stuff.
You can find the complete source code of all the above scrolling stuff on Github.
Similar Popular Articles


Whether you need...
- *High-performing mobile apps
- *Bulletproof cloud solutions
- *Custom solutions for your business.