How to Implement Type-Safe Navigation with GoRouter in Flutter
Background
With type-safe navigation, your navigation logic becomes consistent and maintainable, significantly simplifying debugging and future code modifications.
This technique is particularly beneficial when building Flutter apps for the web, as it seamlessly manages URLs and ensures smooth navigation experiences.
In this blog, we’ll explore how to implement type-safe navigation in Flutter using the go_router and go_router_builder packages.
By the end, you’ll have a comprehensive understanding of setting up type-safe routes, generating code, and managing navigation in your Flutter applications.
Introduction
Type-safe navigation ensures that your navigation logic is consistent and free from errors.
It eliminates the risk of parsing parameters incorrectly and typos in route names and parameters, making your code more maintainable and easier to debug.
When building Flutter apps that target the web, type-safe navigation helps manage URLs easily.
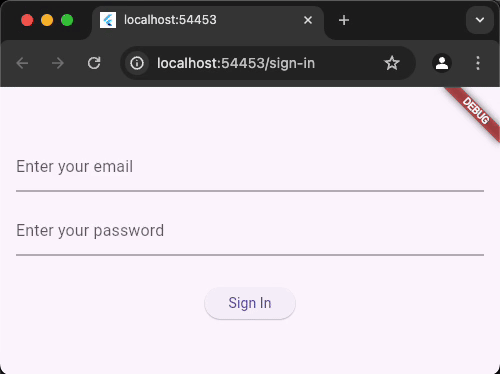
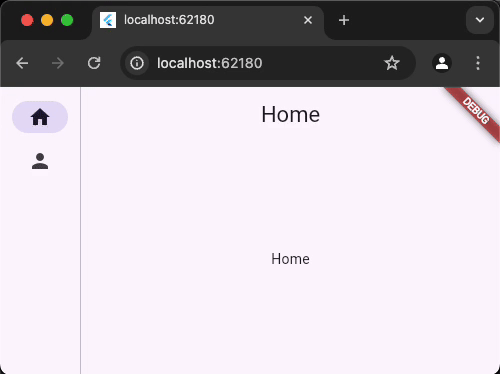
What we’ll achieve at the end of this blog?
You can find the full source code on GitHub.
Sponsored
We are what we repeatedly do. Excellence, then, is not an act, but a habit. Try out Justly and start building your habits today!
Let’s Get Started
We’ll break down the whole thing into 5 easy steps so you can understand it better.
Step 1: Add Dependencies
Add dependencies to your pubspec.yaml file.
dependencies:
  # Necessary for utilizing the Router API-based navigation.
  go_router: <Letest Version>

dev_dependencies:
  # Tool for generating type-safe routes with go_router.
  go_router_builder: <Letest Version>
  # Tool for running code generation for go_router_builder..
  build_runner: <Letest Version>
Step 2: Define Routes
Now create a class for each screen and extend it with GoRouteData and add annotations to top-level routes using @TypedGoRoute().
Ensure all classes are created in a single file for easier code generation.
@TypedGoRoute<HomeRoute>(
  path: '/',
  routes: [
    TypedGoRoute<ItemDetailsRoute>(path: 'items/:id')
  ],
)
class HomeRoute extends GoRouteData {
  @override
  Widget build(BuildContext context, GoRouterState state)
    => const HomeScreen();
}

class ItemDetailsRoute extends GoRouteData {
  final String id;
  const ItemDetailsRoute({required this.id});

  @override
  Widget build(BuildContext context, GoRouterState state) =>
      ItemDetailsScreen(id: id);
}

@TypedGoRoute<SignInRoute>(
  path: '/sign-in',
  routes: [
    TypedGoRoute<VerifyOtpRoute>(path: "verify"),
  ],
)
class SignInRoute extends GoRouteData {
  @override
  Widget build(BuildContext context, GoRouterState state) =>
      const SignInScreen();
}

class VerifyOtpRoute extends GoRouteData {
  final String $extra;

  const VerifyOtpRoute({required this.$extra});

  @override
  Widget build(BuildContext context, GoRouterState state) =>
     VerifyOtpScreen(verificationId: $extra);
}
In this code, we have created a class for each screen by extending GoRouteData and annotating it with TypedGoRoute. We have also passed some data into another screen.
Let’s explore this in more details.
GoRouteData: GoRouteData is an abstract class that contains methods that can be overridden to return a screen, or page or to redirect the user to another page. You must use at least one of these methods.
class HomeRoute extends GoRouteData {

  // You can define the parentNavigationKey like this. (optional)
  static final GlobalKey<NavigatorState> $parentNavigatorKey = rootNavigatorKey;

  @override
  Widget build(BuildContext context, GoRouterState state) {
    // The widget returned here will be displayed when the user navigates to this route path.
    return const HomeScreen();
  }

  @override
  Page<void> buildPage(BuildContext context, GoRouterState state) {
    // The Page returned here will be displayed when the user navigates to this route path.
    // Here, you can also set page transitions by returning CustomTransitionPage.
    return const CupertinoPage(child: HomeScreen());
  }

  @override
  String? redirect(BuildContext context, GoRouterState state){
      // Here, you can specify the location or path to which the user should be redirected when navigating to this route.
      return "/login";
      // Return null to prevent redirect.
  }
}TypedGoRoute: TypedGoRoute annotation is used to define the route tree. We need to annotate every top-level route class with TypedGoRoute to generate the route list.
@TypedGoRoute<TopLevelRoute>(
  path: '/top-level-route-path',
  routes: [
    // you can define sub-routes annotation here like this.
    TypedGoRoute<SubRoute>(
        path: 'sub-route-path'
        routes: []
        name: 'sub route'
    )
  ],
  name: 'top level route' // Optional
)
Note: It is required to add a generic type in the
TypedGoRouteannotation, like this:
@TypedGoRoute<MyRouteGeneric>()Now let’s see how we can use query parameters, path parameters and extra in route.
Path Parameters:
Path parametersare defined within the route path using:symbol (e.g.,/products/:id).- Represent specific parts of the URL structure.
Query Parameters:
- Append data to the URL after a
?symbol (e.g.,/products?category=electronics). - Used for optional, filter-like data that modifies the request.
Extra:
Extra is a way to pass data to a route that isn’t captured by either path or query parameters, we can pass any object is extra.
Note:
extrais a common state for all routes, so it will contain only one state at a time.
@TypedGoRoute<ProductDetailsRoute>(path: '/details/:id')
class ProductDetailsRoute extends GoRouteData {
  // The variable name defined in the path is used as a path parameter.
  final String id;

  // The variable name not defined in the path is used as a query parameter.
  final String code;

  // To use extra data, we have to set the variable name with $extra.
  final String $extra;

  const ProductDetailsRoute({required this.id, required this.code, required this.$extra});

  @override
  Widget build(BuildContext context, GoRouterState state) =>
      ProductDetails(pathParameterId: id, queryParameterCode:code, extraData: $extra);
}
Step 3: Code Generation
After defining the route, you need to generate the route list and extensions. To do this, you have to use build_runner.
Let’s start by adding a generated file part to your current file.
part 'routes.g.dart'; //part '<current-file>.g.dart';Now let’s run build_runner command,
dart run build_runner build --delete-conflicting-outputsIt will generate routes.g.dart file in your current file directory.
Step 4: GoRouter Initialization
Now you can pass generated $appRoutes on routes, and you can use generated location getter to get the exact route location.
final _router = GoRouter(
  initialLocation: HomeRoute().location, // location getter is generated.
  //$appRoutes is generated
  routes: $appRoutes,
  redirect: (context, state) { // Optional
    // You can manage redirection here by returning the route location.
    // Also you can prevent the user from navigating to the screen via the search URL.
    // Return null to prevent redirect.
  }
  errorBuilder: (context, e) => ErrorScreen(e), // Optional
  navigatorKey: rootNavigationKey, //Optional
);
Step 5: Navigate to another screen
Now that we have our routes set up, let’s explore navigation methods to navigate to other screens.
Go:
Replace the current stack of screens with the provided route destination.
await Screen2Route(id: id).go(context);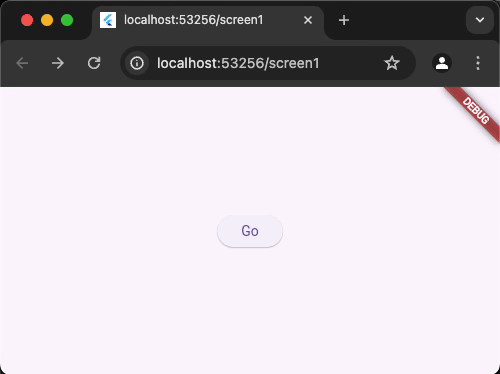
Push:
Push a location onto the page stack.
await Screen2Route(id: id).push(context);

// Also you can catch value from push
final result = await Screen2Route(id: id).push(context);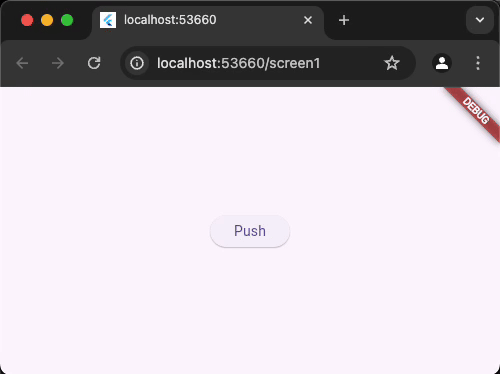
Push Replacement:
Replace the top-most page of the page stack with the given URL location.
await Screen2Route(id: id).pushReplacement(context);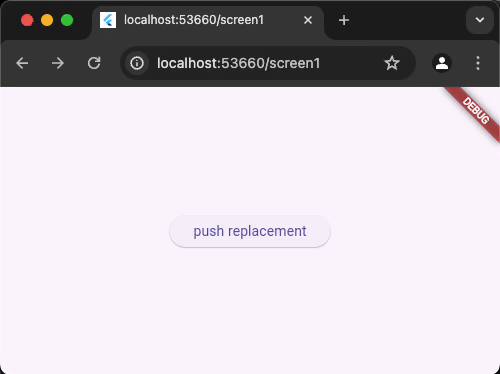
Replace:
Replace the topmost page of the stack with the given one, but treat it as the same page.
await Screen2Route(id: id).replace(context);
That’s it, we’re done with navigation implementation. 👏
Now, let’s see how we can implement a shell route with type-safe navigation using go_router and go_router_builder.
Shell Route Navigation
Let’s explore how we can implement a shell route using a type-safe route.
First, to define a shell route, we need to create a class extending ShellRouteData and annotate it with @TypedShellRoute().
final GlobalKey<NavigatorState> shellNavigatorKey = GlobalKey<NavigatorState>();

@TypedShellRoute<DashboardShellRoute>(
  routes: <TypedRoute<RouteData>>[
    TypedGoRoute<HomeRoute>(path: '/'),
    TypedGoRoute<ProfileRoute>(path: '/profile'),
  ],
)
class DashboardShellRoute extends ShellRouteData {
  const DashboardShellRoute();

  static final GlobalKey<NavigatorState> $navigatorKey = shellNavigatorKey;

  @override
  Widget builder(BuildContext context, GoRouterState state, Widget navigator) {
    // In the navigator, we get the current tab widget.
    return MyDashboardScreen(child: navigator);
  }
}

class HomeRoute extends GoRouteData {
  @override
  Widget build(BuildContext context, GoRouterState state) => const HomeScreen();
}

class ProfileRoute extends GoRouteData {
  @override
  Widget build(BuildContext context, GoRouterState state) =>
      const ProfileScreen();
}
In this code, we have created a class for dashboard(shell widget) widget by extending ShellRouteData and annotating it with TypedShellRoute.
Let’s explore this in more details.
ShellRouteData: ShellRouteData: ShellRouteData is an abstract class that contains a builder method to build the shell.
class DashboardShellRoute extends ShellRouteData {
  @override
  Widget builder(BuildContext context, GoRouterState state, Widget navigator) {
    // In the navigator, we get the current tab widget.
    return MyDashboardScreen(child: navigator);
  }
}TypedShellRoute: TypedShellRoute annotation is used to define the shell route tree. It contains a routes list where we have to define our tab routes.
@TypedShellRoute<DashboardShellRoute>(
  routes: <TypedRoute<RouteData>>[
    TypedGoRoute<HomeRoute>(path: '/'),
    TypedGoRoute<ProfileRoute>(path: '/profile'),
  ],
)
Let’s see how we can navigate between tabs in a shell route.
class MyDashboardScreen extends StatelessWidget {
  const MyDashboardScreen({required this.child, super.key});

  final Widget child;

  int getCurrentIndex(BuildContext context) {
    final String location = GoRouterState.of(context).uri.path;
    if (location.startsWith('/profile')) {
      return 1;
    }
    return 0;
  }

  @override
  Widget build(BuildContext context) {
    final int selectedIndex = getCurrentIndex(context);
    //Define your dashboard UI, such as a bottom bar, navigation rail, etc.
    return Scaffold(
      body: Row(
        children: <Widget>[
          NavigationRail(
            destinations: const <NavigationRailDestination>[
              NavigationRailDestination(
                icon: Icon(Icons.home),
                label: Text('Home'),
              ),
              NavigationRailDestination(
                icon: Icon(Icons.person),
                label: Text('Profile'),
              ),
            ],
            selectedIndex: selectedIndex,
            onDestinationSelected: (int index) {
              switch (index) {
                case 0:
                // Note: All navigation methods will be accessible after the code generation process.
                  HomeRoute().go(context);
                case 1:
                  ProfileRoute().go(context);
              }
            },
          ),
          const VerticalDivider(thickness: 1, width: 1),
          Expanded(child: child),
        ],
      ),
    );
  }
}
In this code, we have created a shell widget, and in the child parameter, we get the current tab widget.
We have managed tab navigation using an index. To obtain the current tab index, we retrieve the current path using GoRouterState.of(context).uri.path and compare it with the tab path.
That’s it, we’re done with shell route implementation. 👏
Tips
- If your web URL isn’t updated on push, you can perform a go-route migration. See the
migration guidefor instructions. - You can define
URL strategiesto remove the ‘#’ symbol from URLs,
Seedocumentation. - If you want to manage your browser URL history, you can do it with neglect. See
documentation.
Conclusion
By following the steps in this article, you can easily set up type-safe routes using go_router and go_router_builder.
This will make your app navigation more user-friendly and less prone to errors and enhance the navigation flow in apps that support web platforms.
Stay tuned for more insights on Flutter in our upcoming blog posts! 🚀📝
Related Articles


Get started today
Let's build the next
big thing!
Let's improve your business's digital strategy and implement robust mobile apps to achieve your business objectives. Schedule Your Free Consultation Now.
Get Free Consultation
Get started today
Let's build the next big thing!
Let's improve your business's digital strategy and implement robust mobile apps to achieve your business objectives. Schedule Your Free Consultation Now.
Get Free Consultation